|
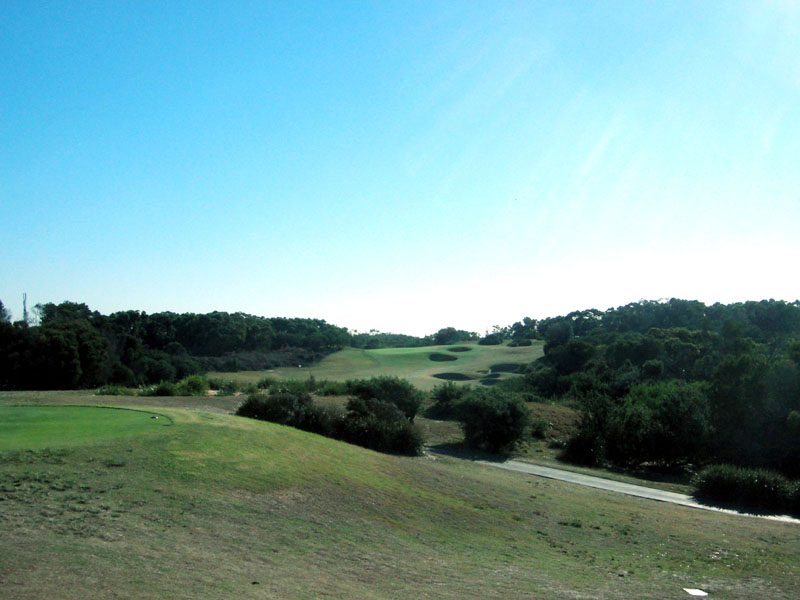
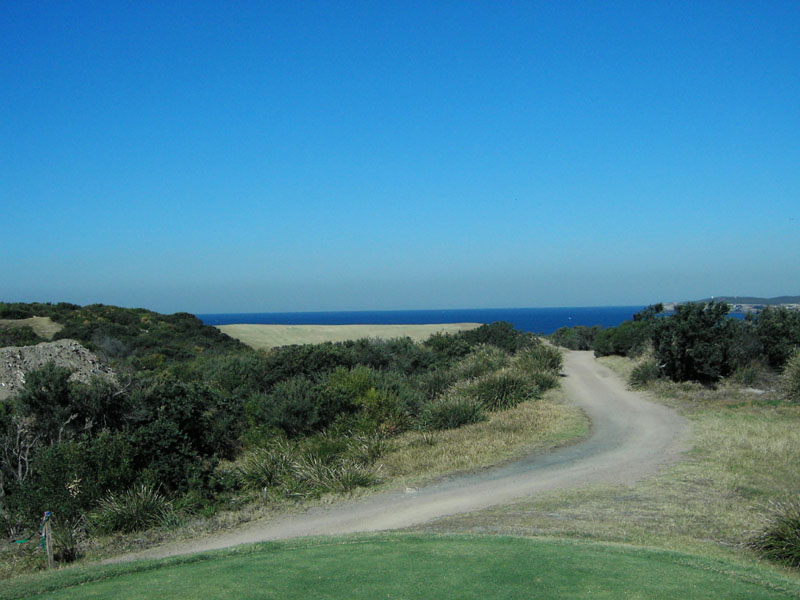
This is a seaside links course facing South Pacific Ocean. It is
designed to leave as much of the natural terrain intact. There are
many blind tee shot holes, but the designers allow you to see all
the hazards from the second shot areas. The fairways are tight with
deep rolls. Once your ball is in rough where heath grows densely,
you are likely to lose the ball. Furthermore, bunkers are deep and
have distinctive shapes. Overall, it is a challenging course with
great vistas. To begin with, the 5th & 6th holes were selected
among the best 500 holes in the world. There are many superb, strategically
well-designed holes. You will never get tired of playing this course.
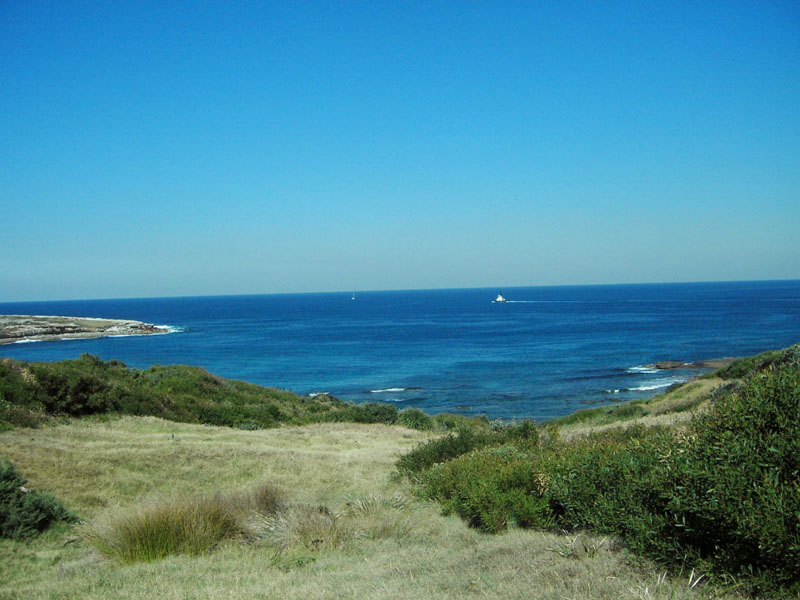
Additionally, the ocean views seen from several holes are breathtaking.
The greens and fairways conditions are excellent. When a sea breeze
is strong, it adds greatly to the degree of difficulty.
|
|
|
|
|
|
|
|
|
A short par 4. The hole isn’t difficult unless you hit into a cluster
of bunkers. The green is highly elevated and slopes steeply from back
to front.
|
| |
|
|
| |
|
|
|
A sharp dogleg to the left. The hole bends to the left almost 90 degrees.
The tee shot is blind and you need to hit over trees on the left. Depending
on how much of the dogleg is cut off, you can have anything from a 5 iron
to a wedge on the second shot. The green has complex undulations and putting
as well as chipping from around the green is not easy. |
| |
|
|
|
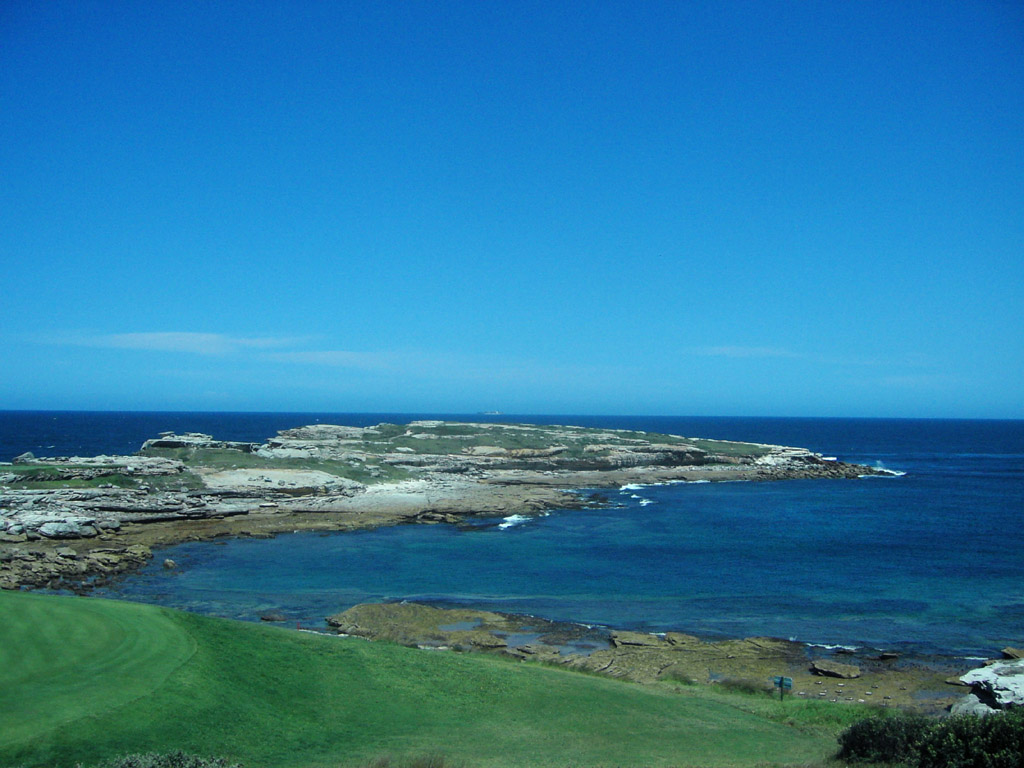
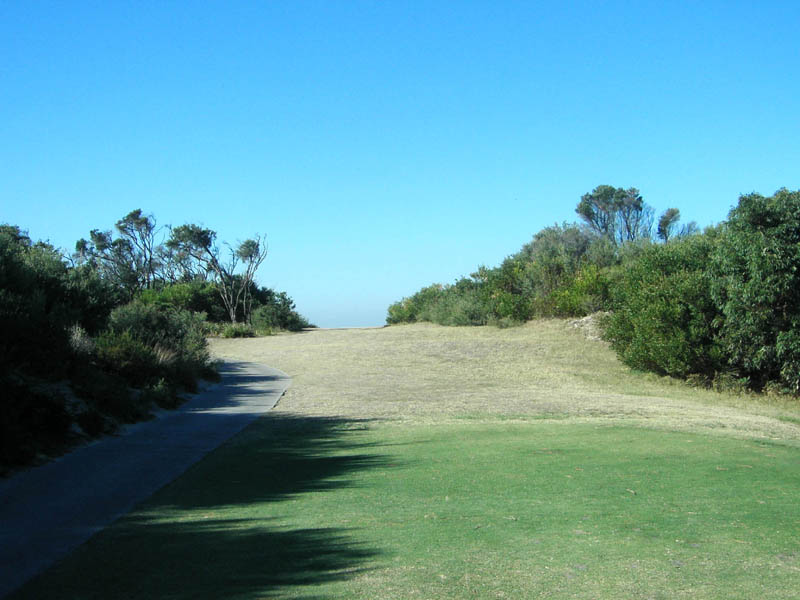
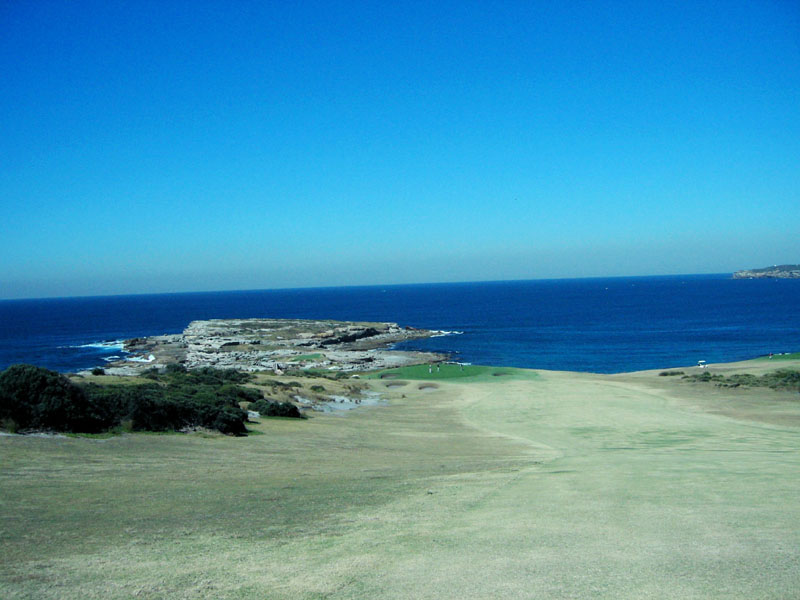
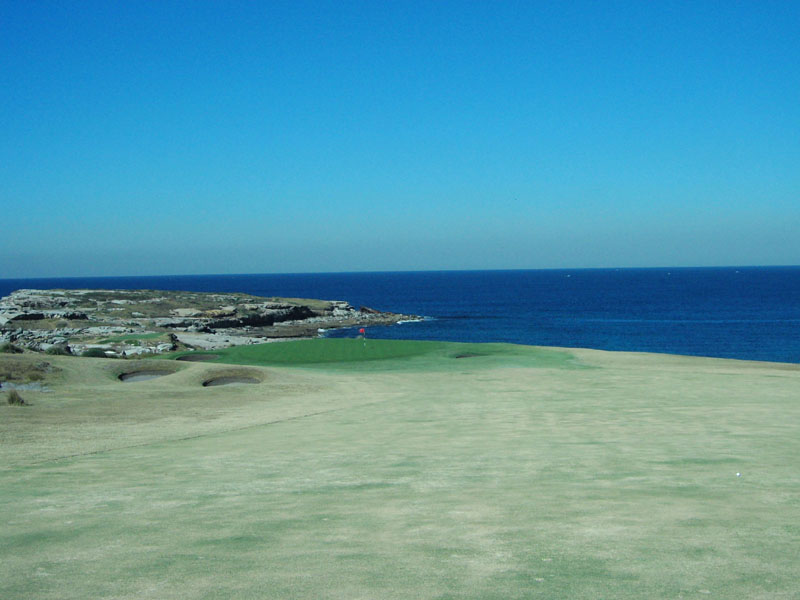
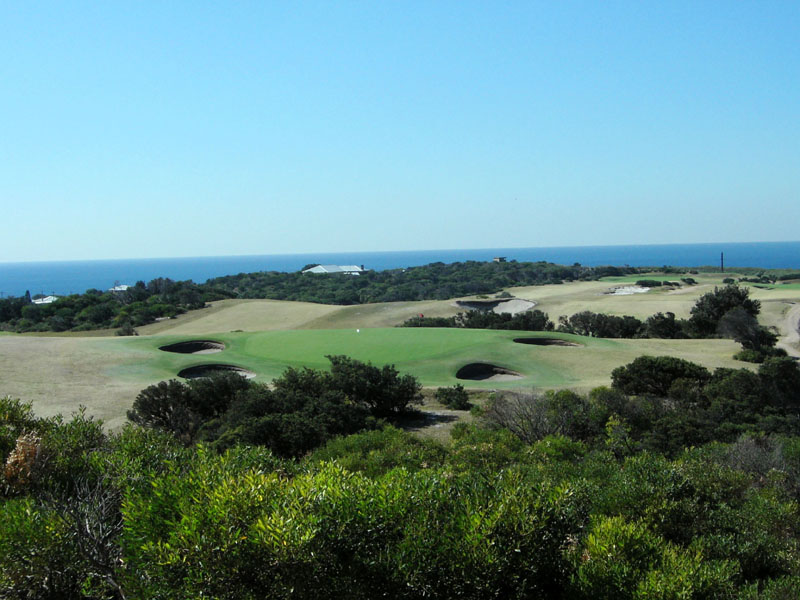
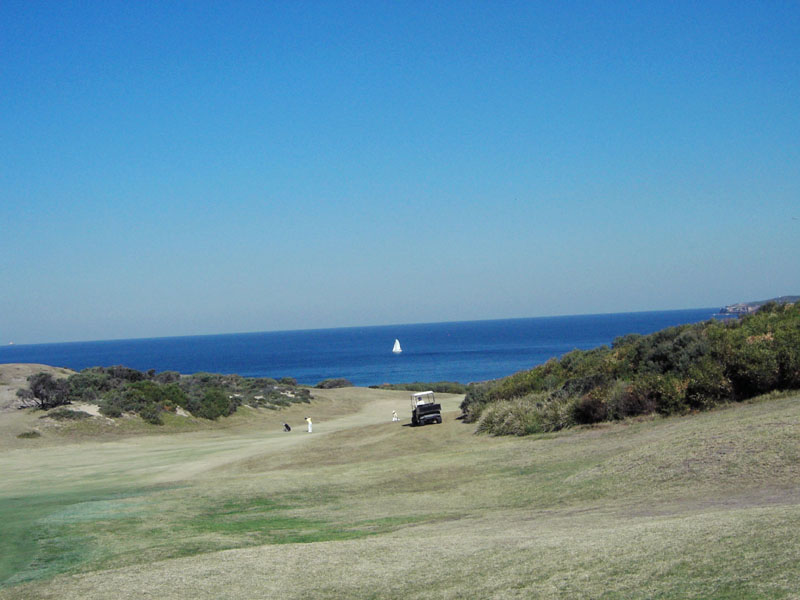
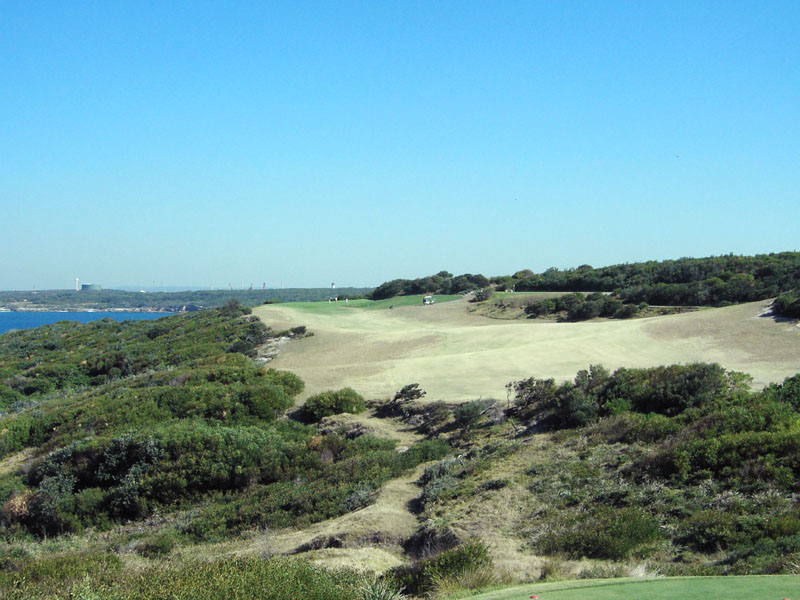
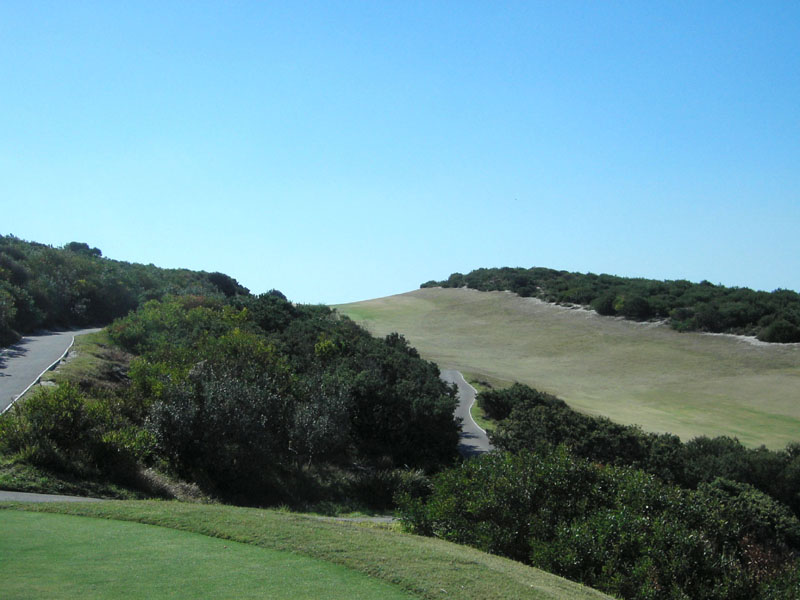
A straight & downhill “signature hole”. The tee shot is blind over
an enormous rise. The landing area off the tee is tight and when the tee
shot is good, you can aim the green in 2. From the summit of the fairway,
the hole plunges dramatically almost 30 meters (100 feet) down to a tiny
target and the South Pacific Ocean, which is a breathtaking view.
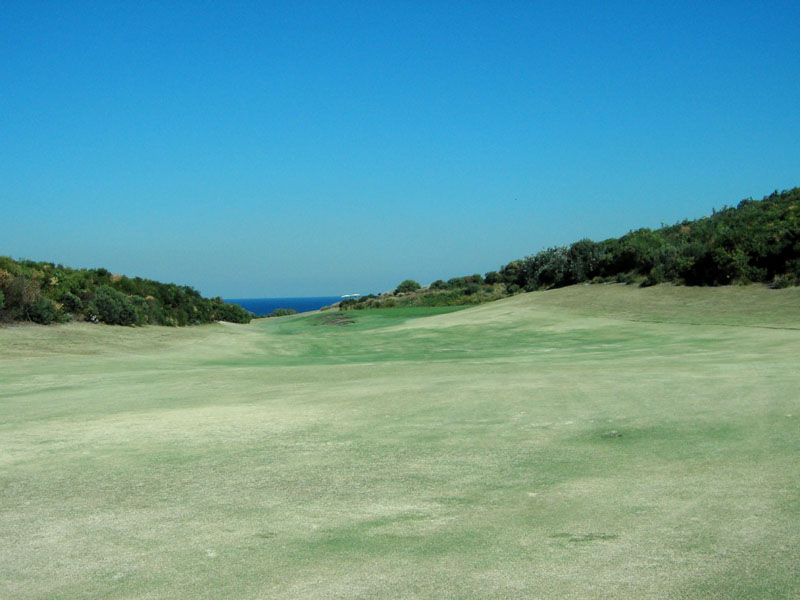
The green slopes sharply from right to left, so you want to hit to the
right edge of the green where a deep pot bunker guarding the front right
of the green will catch short balls even if slightly. Another bunker guards
the green on the left and it will often catch the balls which land the
green first and roll toward. This hole has been selected as one of the
best 500 holes in the world in 2000 by US Golf Magazine.
|
| |
|
|
|
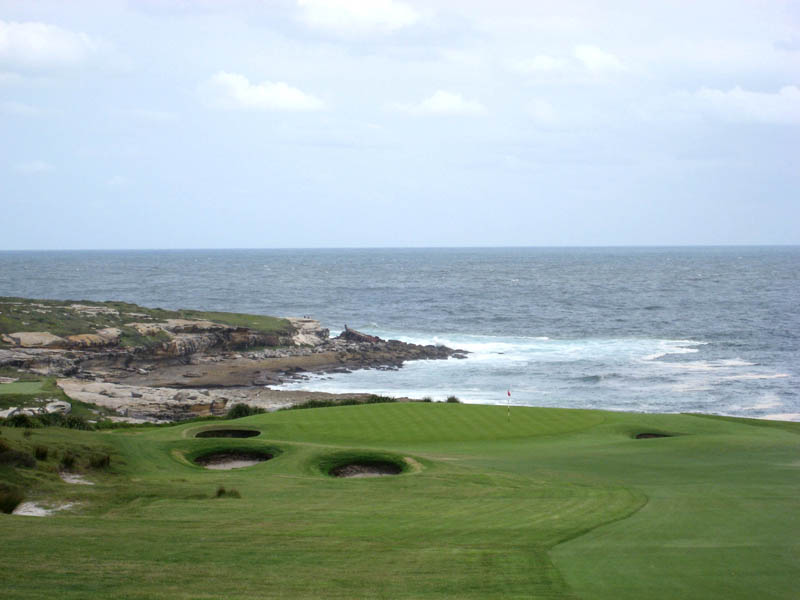
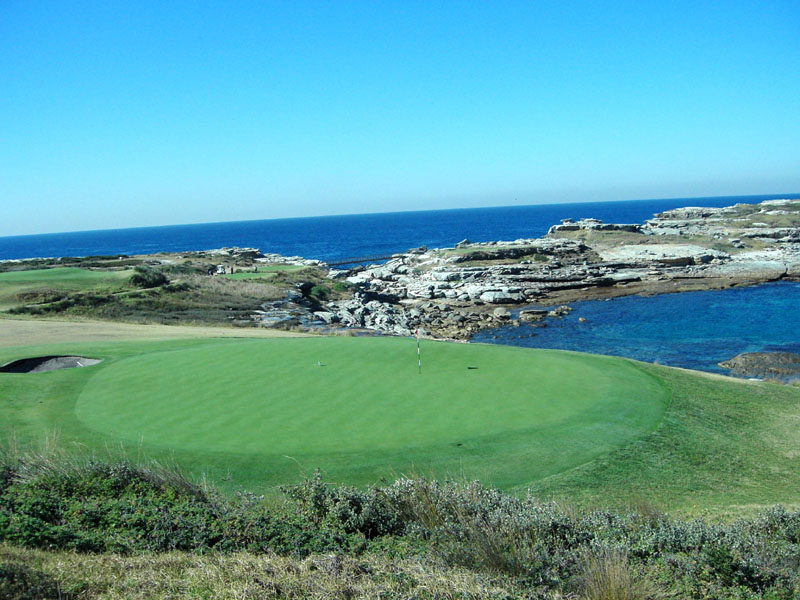
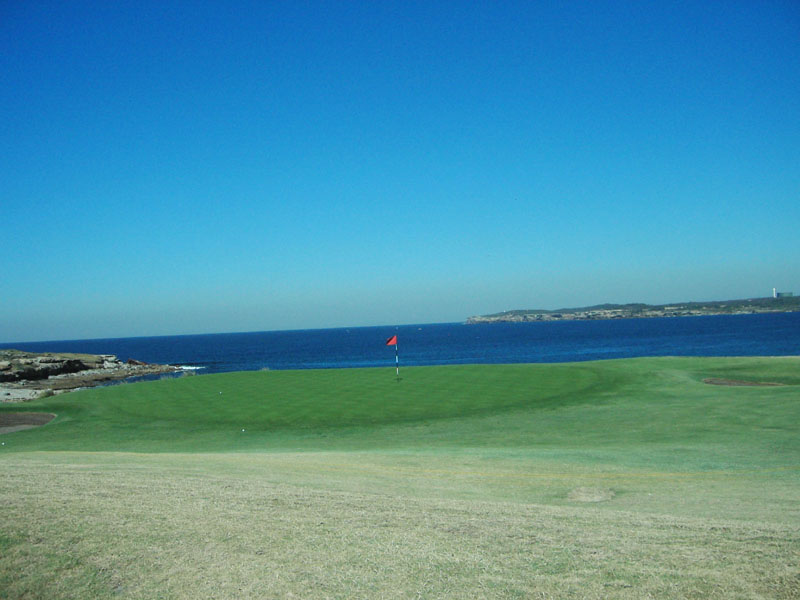
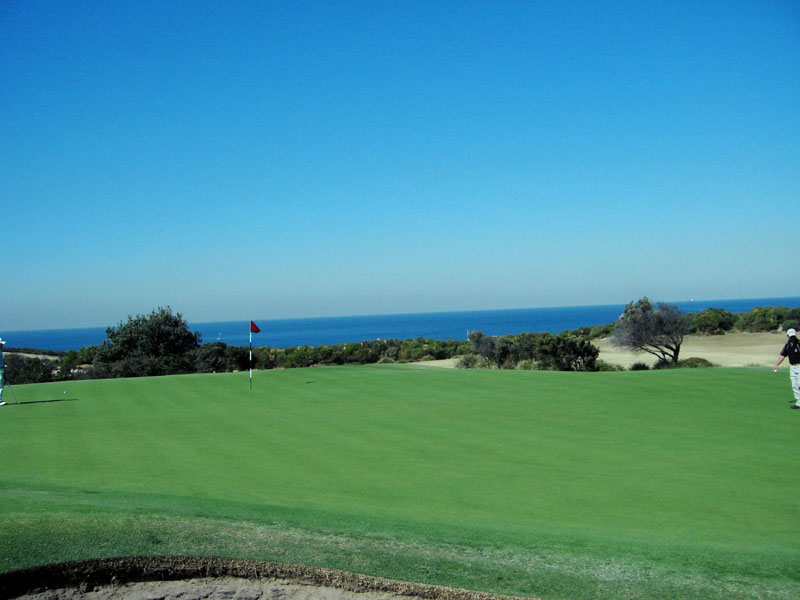
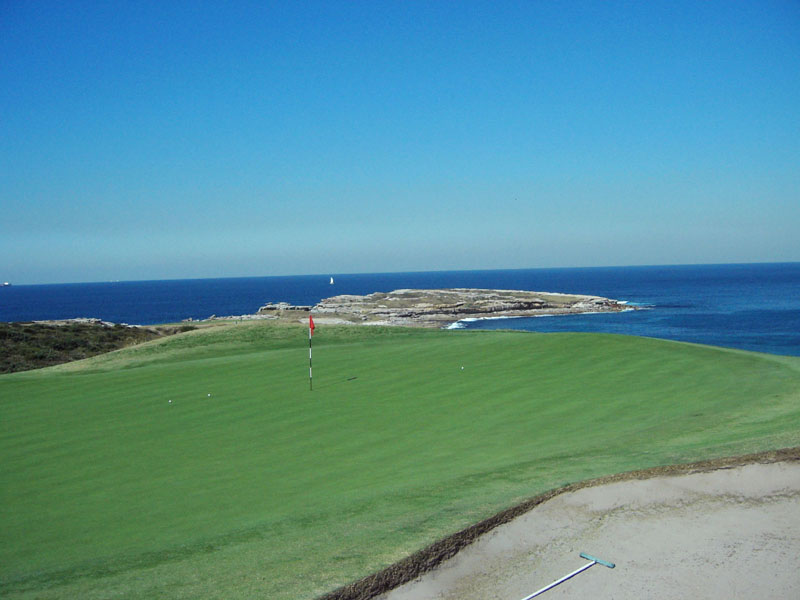
A very famous Ocean carry par 3. There are dangers on the left of the
green, a deep bunker and a sharp slope that will make you ball roll down
far from the green or (down the bottom of the sea in some cases) where
it will be difficult to save par. The green slope from the back right
toward the front left. This hole has been selected as one of the best
500 holes in the world in 2000 by US Golf Magazine as well.
|
|
|
| |
|
|
|
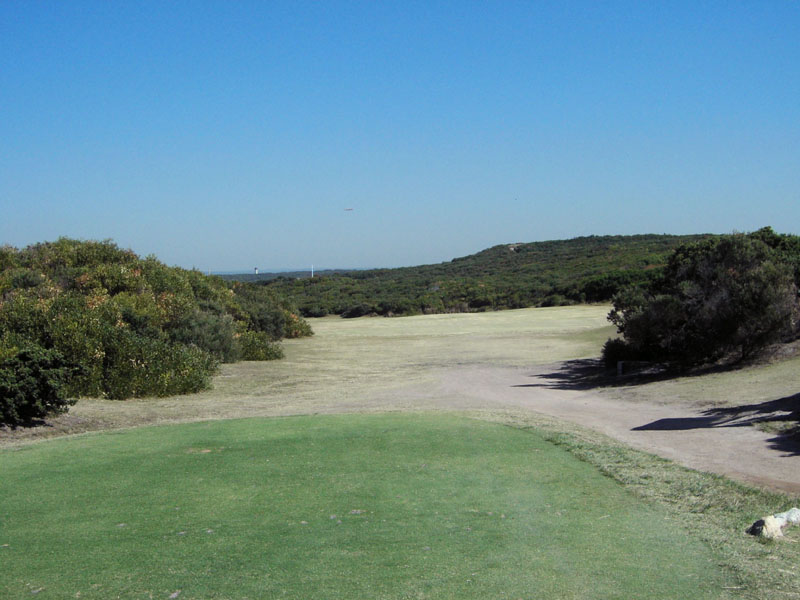
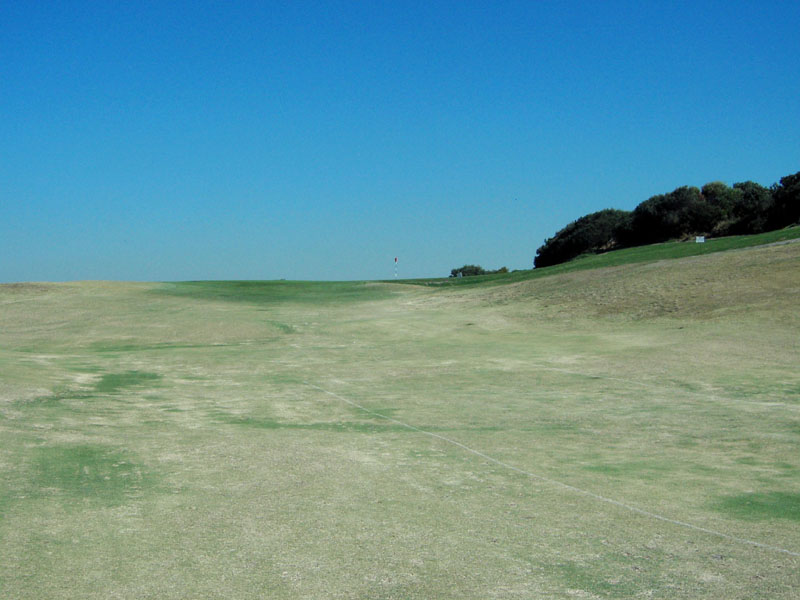
An almost straight hole. The second shot is blind over a hill rising above
the fairway. The green is elevated with 2 bunkers in its front and trees
at the back. |
| |
|
|
|
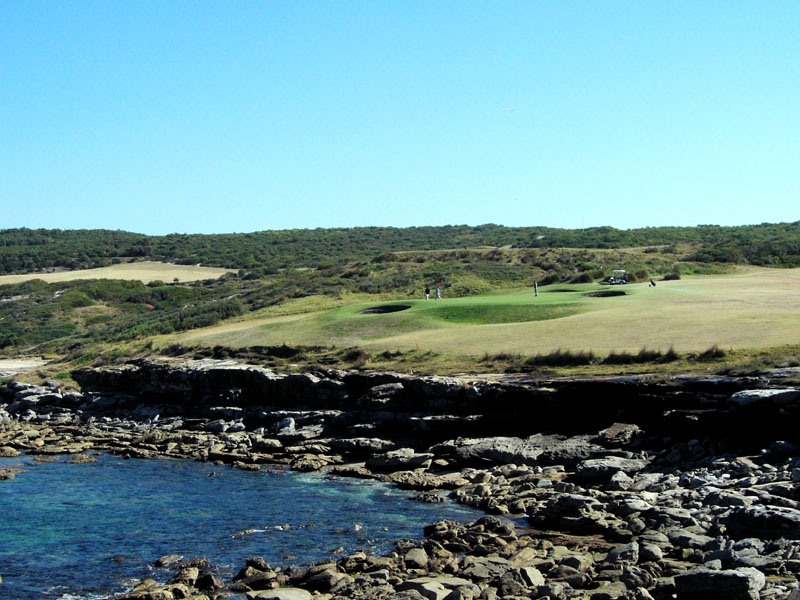
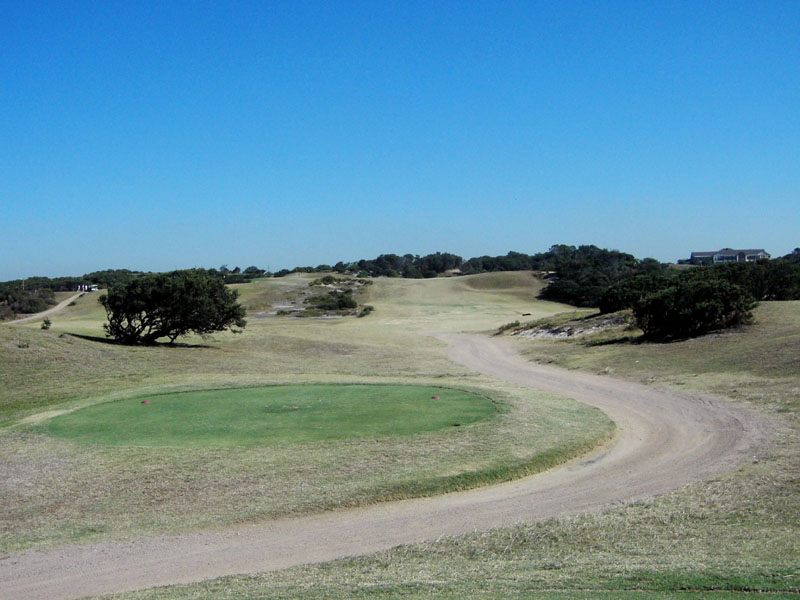
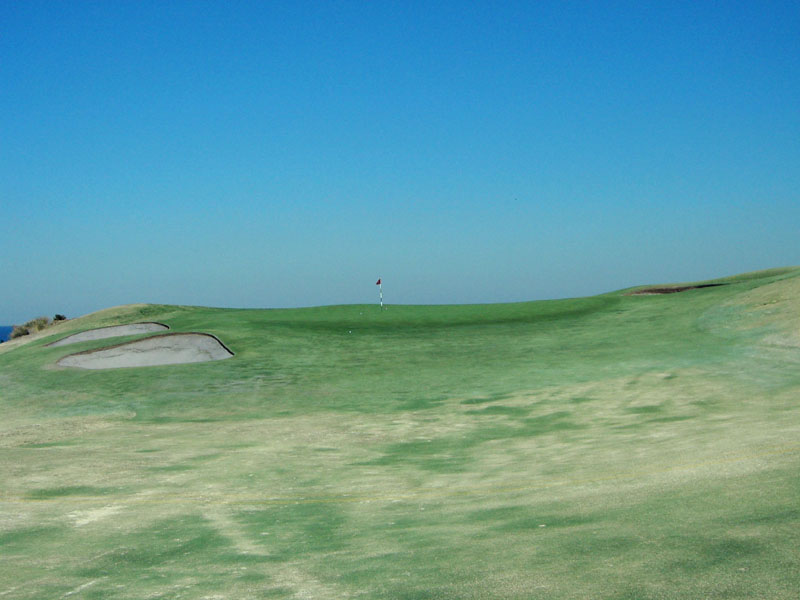
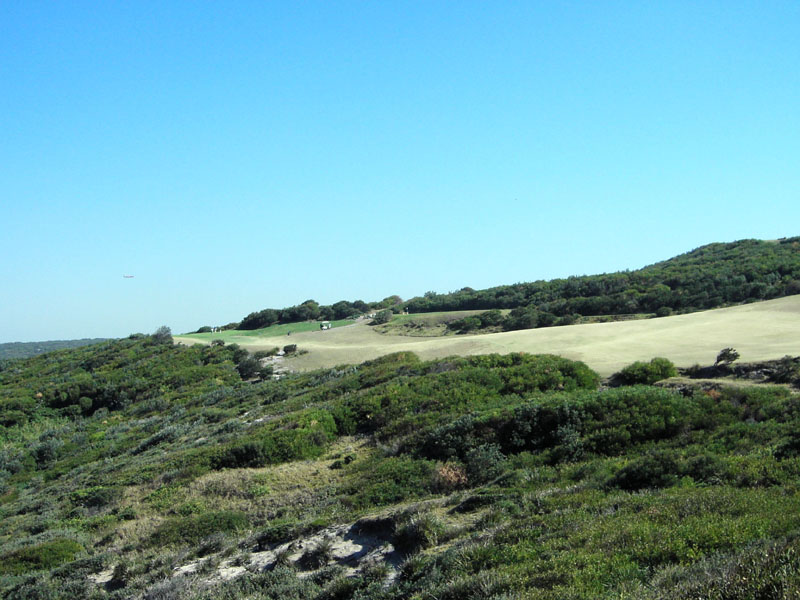
Another scenic par 3. This hole looks over the whole course. It is downhill
and the green slope sharply from the back to the front.
|
|
|
|
A dogleg to the left, a gentle downhill. If you hit a tee shot too much
to the right side, the ball will likely go through the trees ahead. The
second shot is difficult as the green is protected by bunkers on both sides
and the ocean at the back. The green is narrow and slopes from back to front.
The contrast between the green-hued green and the cobalt blue sea behind
creates a stunning view. |
| |
|
|
| |
|
|
|
A dogleg to the left over a ravine. Although short, it calls for accuracy
and strategy. You are tested on how far to cut off the dogleg. Because
the landing area is narrow, it is safe to use a fairway wood or a long
iron instead of a driver off the tee. The green is elevated and has delicate
rolls.
|
|
|
| |
|
|
|
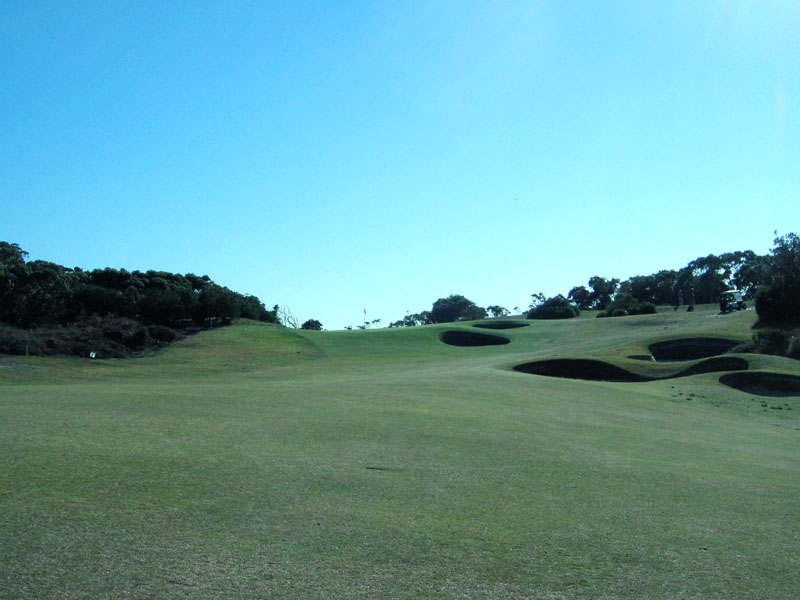
A dogleg right, a demanding hole. Heath on rough right & left tightens
the fairway, so you feel like the target is more or less one spot off
the tee. An uphill tee shot needs to go about 230 yards into a wind to
reach the top of a hill and to offer a view of the green, otherwise it
will be a blind second shot. This is a difficult hole requiring both distance
and accuracy. Pay attention to trees on the right hand of the green and
deep bunkers on both sides of the green.
|
| |
|
|
| |
|
|
|
A challenging hole that doglegs sharply to the right from the second
shot area. One should drive to the right side of the fairway, unless you
are a truly long hitter, in order to have a clear view to the green on
the second shot. If your shot is lands on the left, trees ahead will hinder
your next shot. The green is protected by 3 pot bunkers on the left and
trees on the right and at the rear, so an accurate approach is required.
|
| |
|
|
| |
|
|
It is a 30 minute drive from Central Sydney and a 10 minute drive
from airport. Visitors can play on certain days & times on weekdays
and must be accompanied by a member on weekends. The back tees are
used only for the club tournaments like monthly medals and the front
tees are generally used. The distance is in meters. The course is
adjacent to St. Michael
GC and shares the same coastal line.
|
|
The course was ranked 2rd in Australia by Golf Digest 2006. Also, US
Golf Magazine ranked it the 34th best course in the world in 2005. The
other selected courses in Asia and Oceania were Royal
Melbourne GC (Australia, 10th), Kingston
Heath GC (Australia, 20th), Cape Kidnappers (New Zealand, 27th), Hirono
GC (Japan, 35th), Barnbougle
Dunes GL (Australia, 49th), Royal Adelaide GC (Australia, 54th), Kauri
Cliffs GC (New Zealand, 58th), Kawana
GC – Fuji Course (Japan, 80th), Tokyo
GC (Japan, 94th), The Club at Nine Bridges (Korea, 95th) and Naruo
GC (Japan, 100th).
Alister Mackenzie designed or suprevised other famous courses in the
world are Cypress Point GC (2nd of the above top 100 ranking), Augusta
National GC (4th of the above ranking), Royal
Melbourne GC (same as above), Kingston
Heath GC (same as above) and Royal Adelade GC (same as above).
|
| |

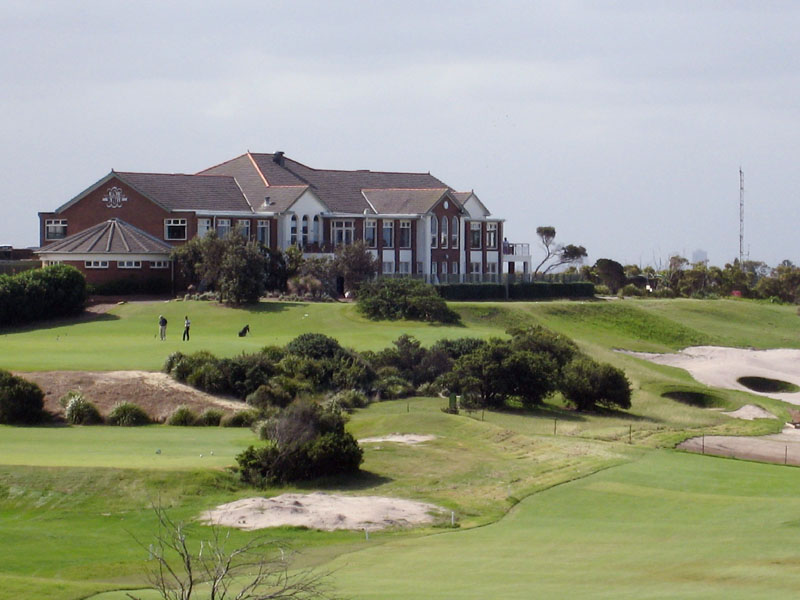

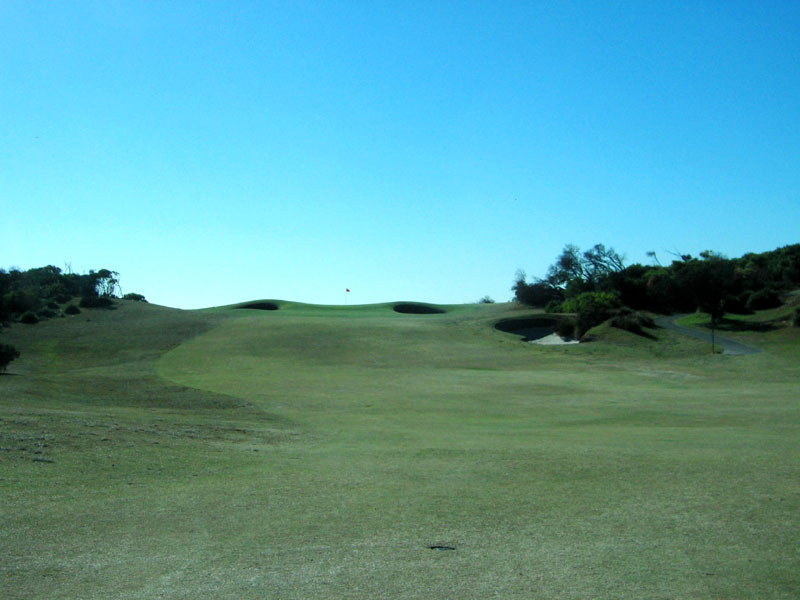


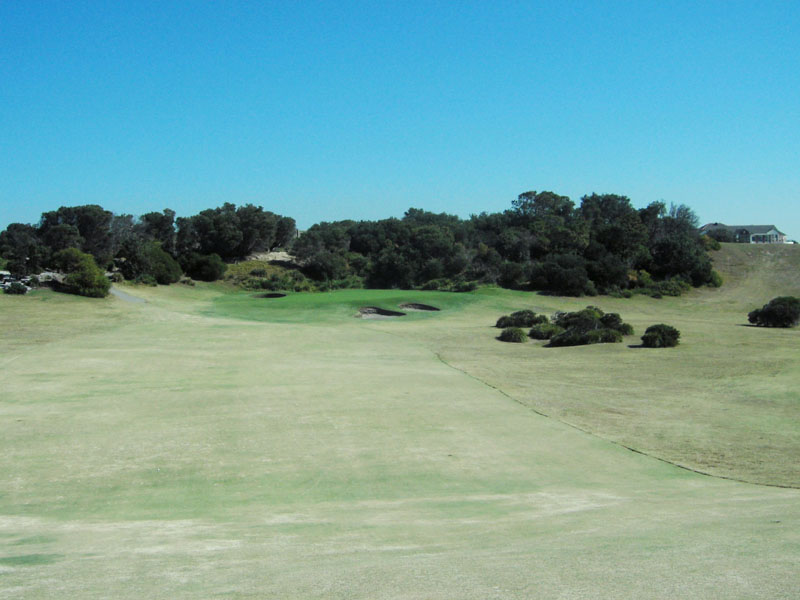

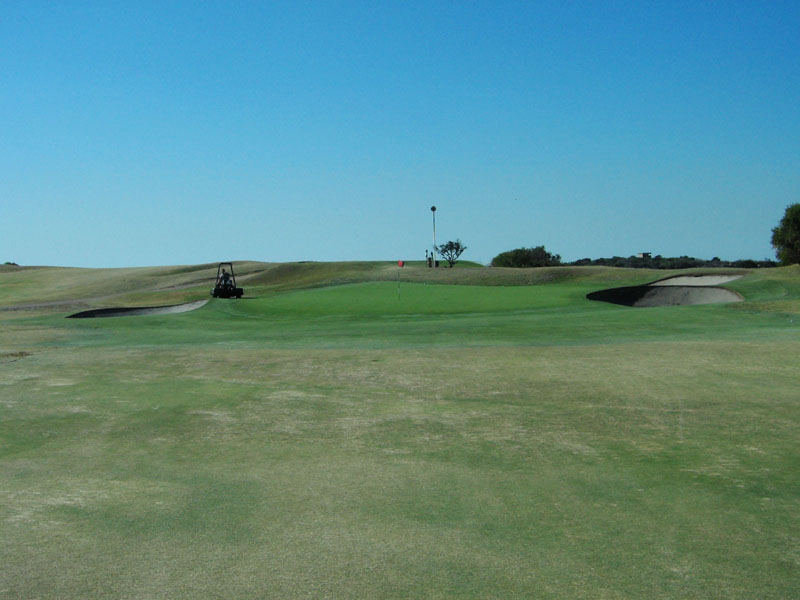
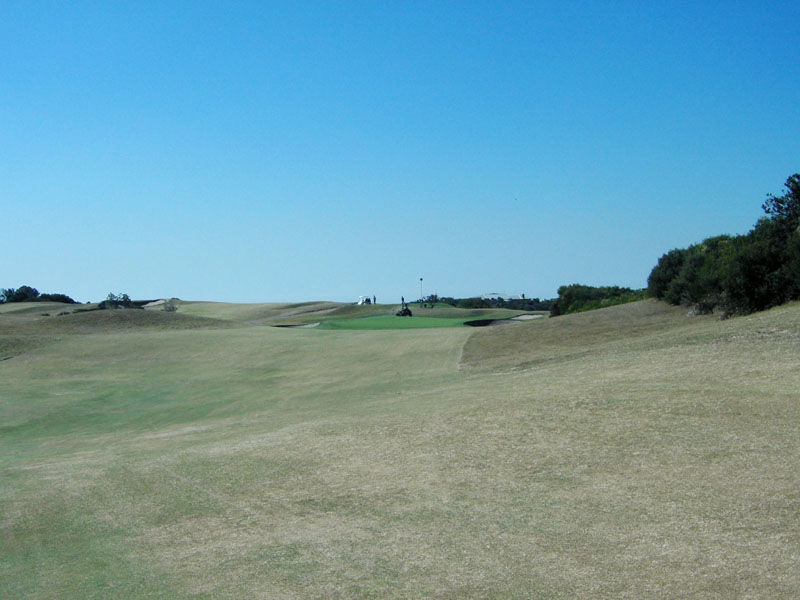


1st green