| |
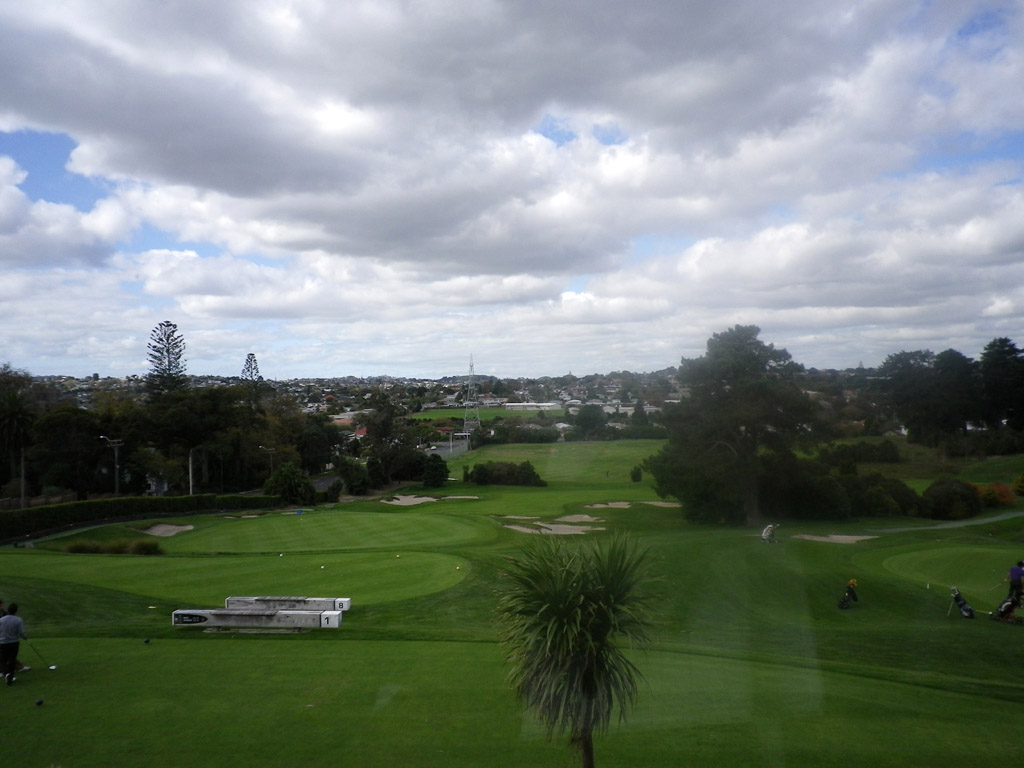
| This is a woodland course laid out on gently undulating hilly
terrain, featuring distinct shapes of bunkers. Each hole is separated by
trees and the landing areas are relatively narrow, so accurate drives are
required. The natural undulations produce moderate ups & downs and bunkering
around the greens are beautiful and excellent, thus the course is quite
challenging. You can enjoy playing form 11th to 17th hole, in spite of some
blind holes, as they are superbly designed. The layout today retains much
of its original version. |
|
| |
|
|
|
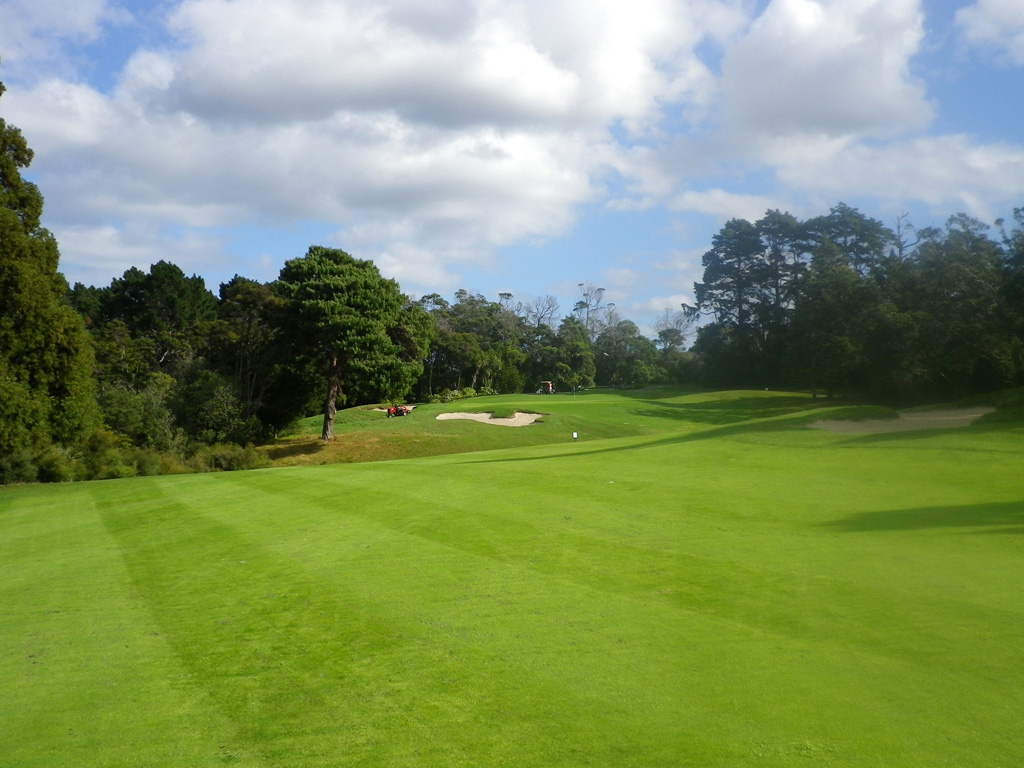
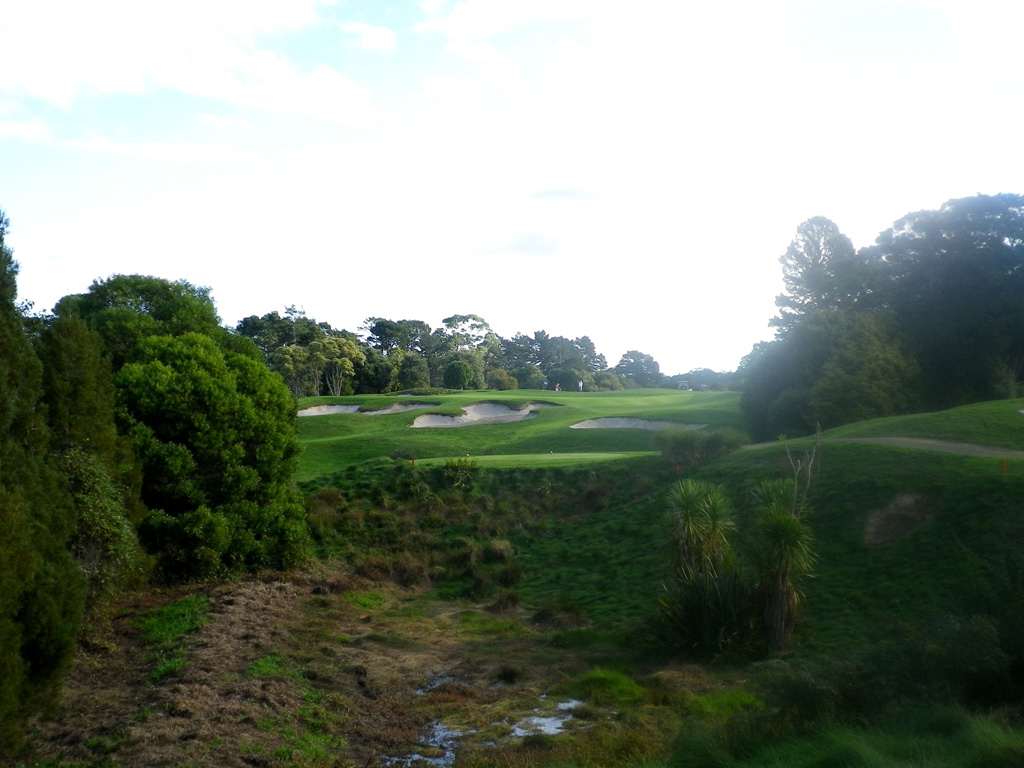
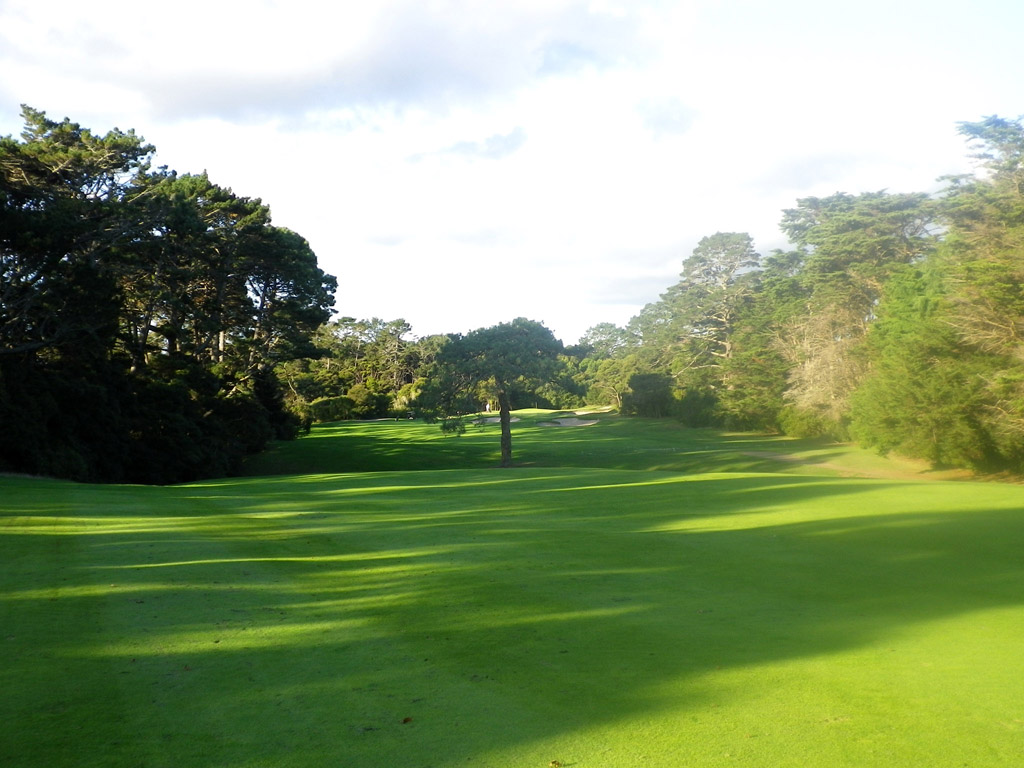
A dogleg to the right. The tee shot is over a valley. The fairway is narrow
and squeezed by the valley on the right and fairway bunkers on the left.
A bunker in the left front of the green is in play, the green slopes from
back to front. |
| |
|
|
|
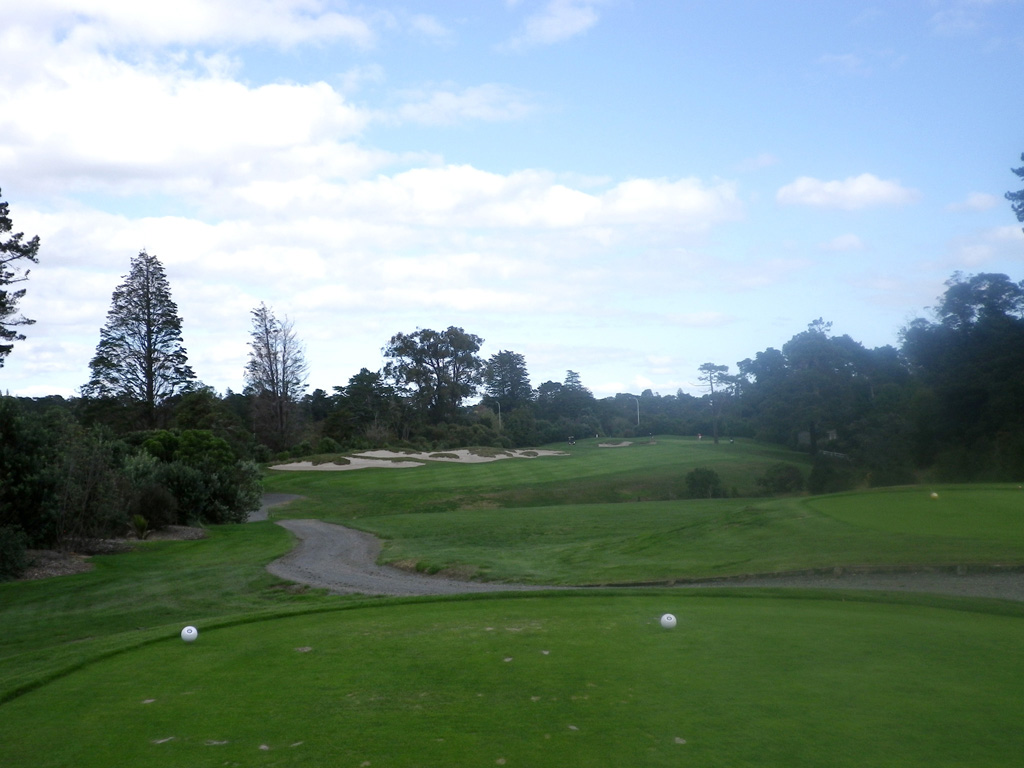
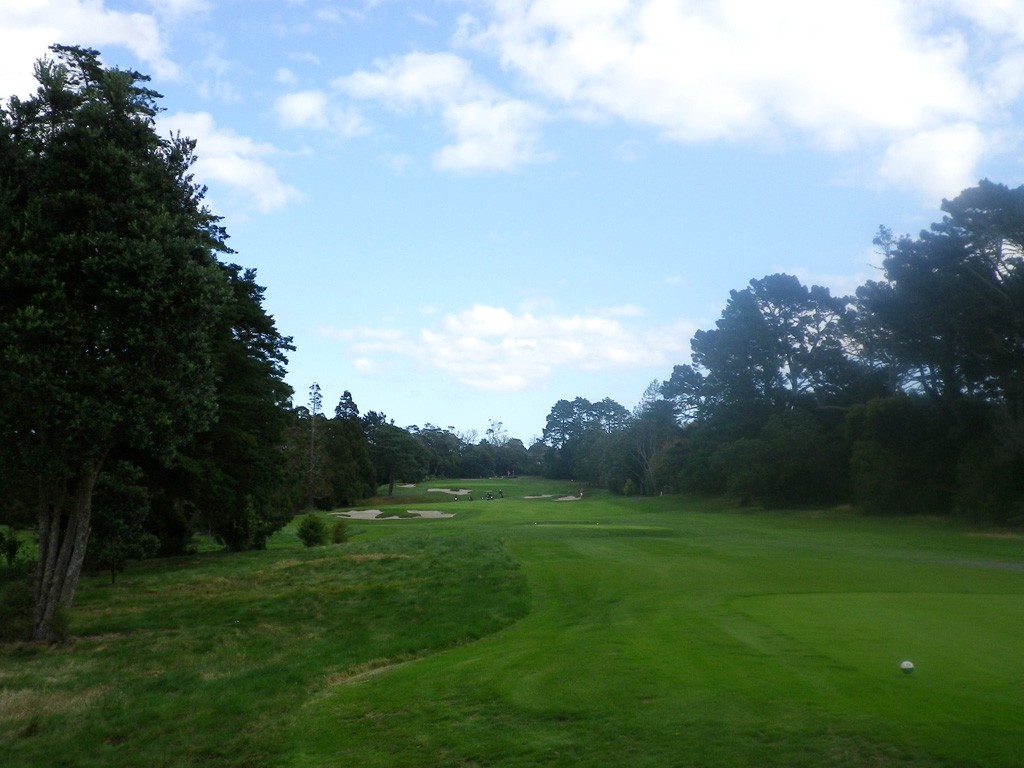
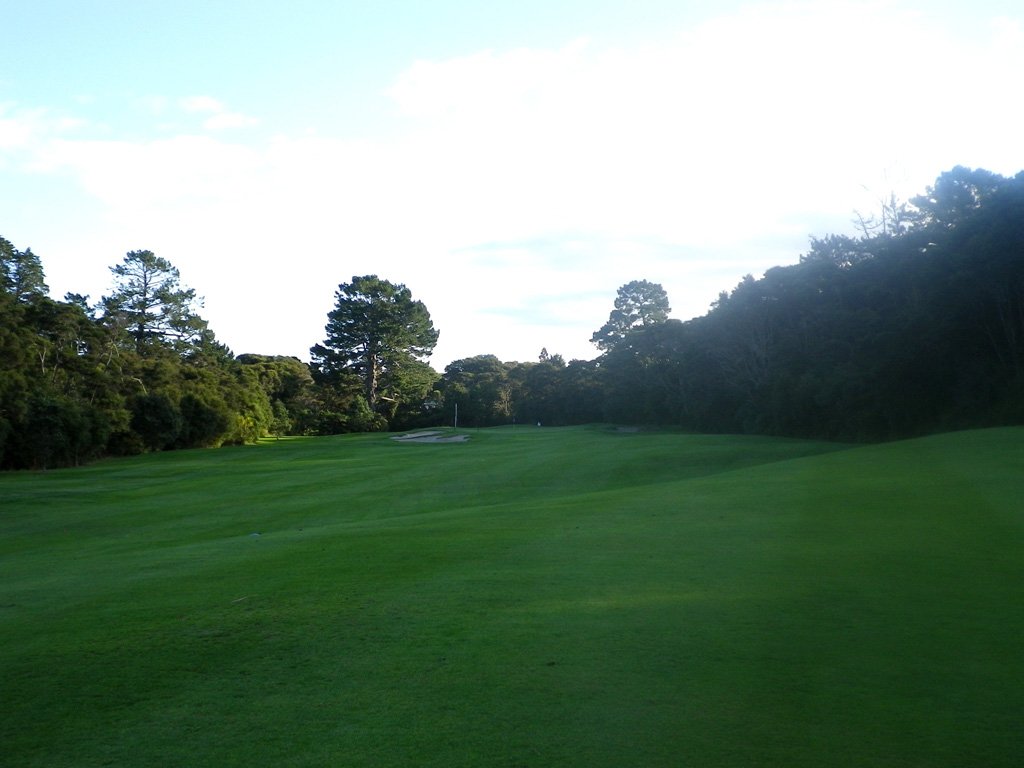
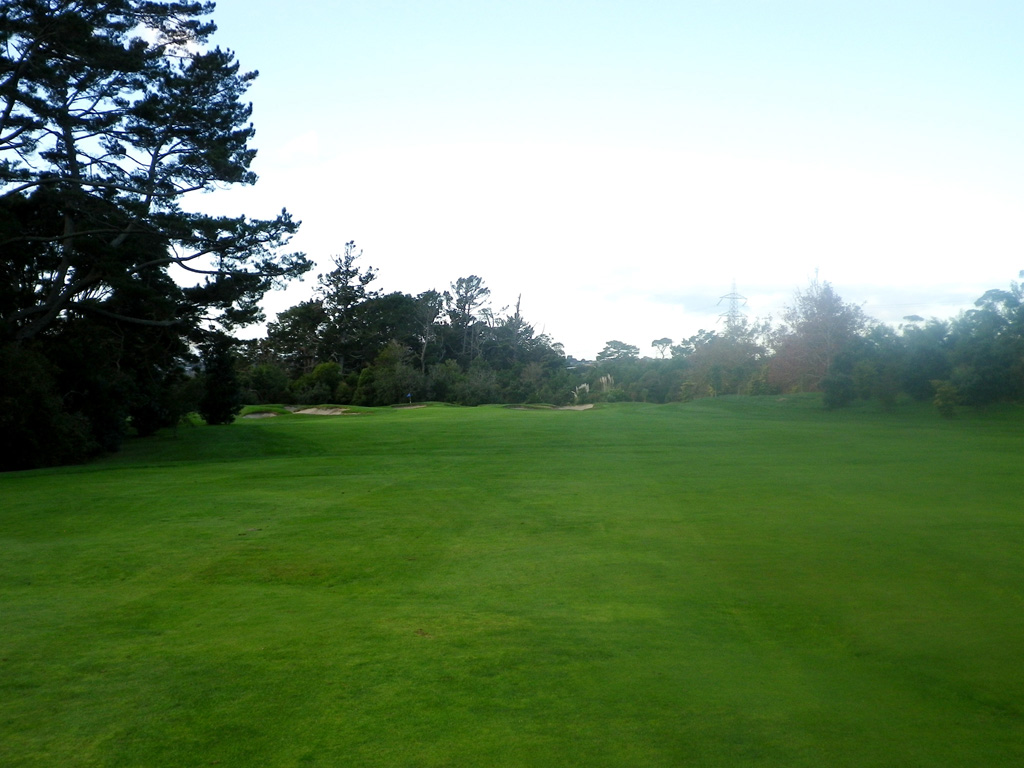
A difficult straight hole. An accurate drive is required as OB lines on
the right are close and a bunker on the left is reachable 230 yards off
the tee. The fairway slopes from left to right. The second shot is over
a valley. Be careful of 2 bunkers in the left front of the green as they
are deep. |
| |
|
|
|
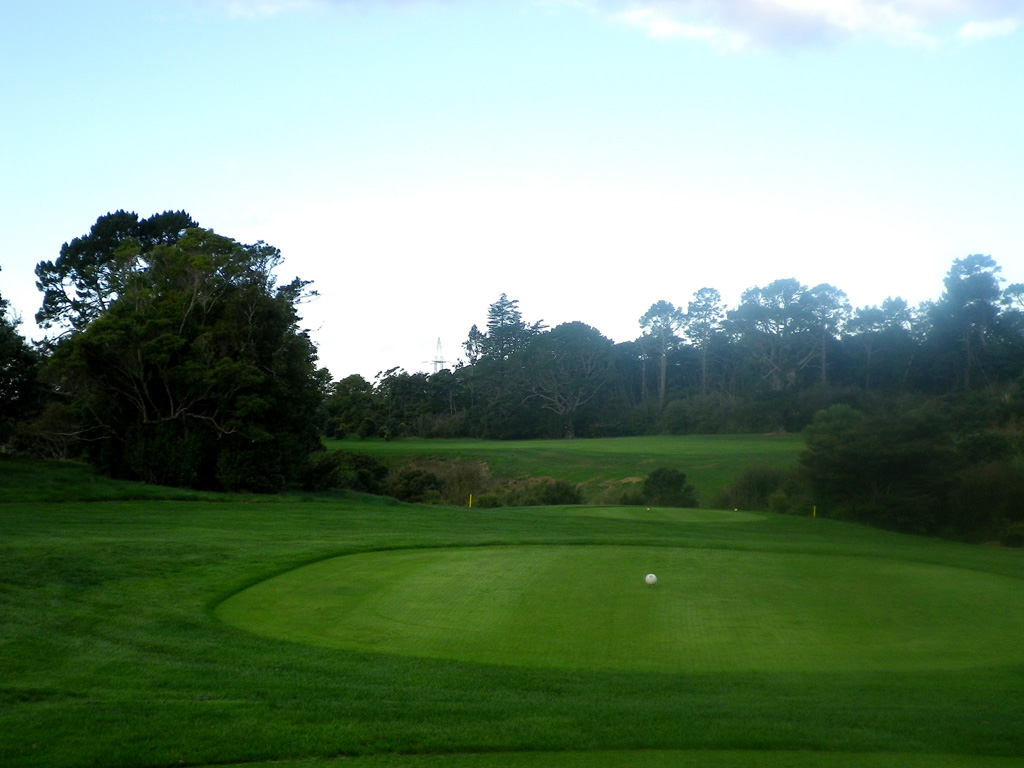
A dramatic downhill. The green is narrow & deep with 4 bunkers left
and right. A right club selection considering downhill and wind factor is
required. |
| |
|
|
|
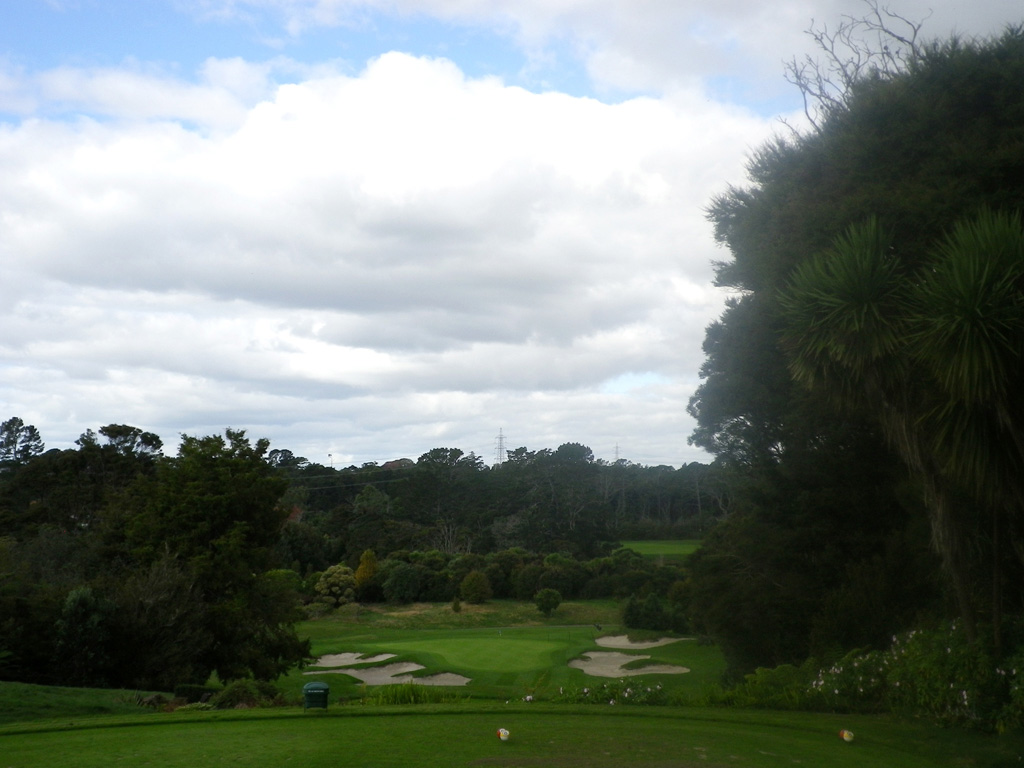
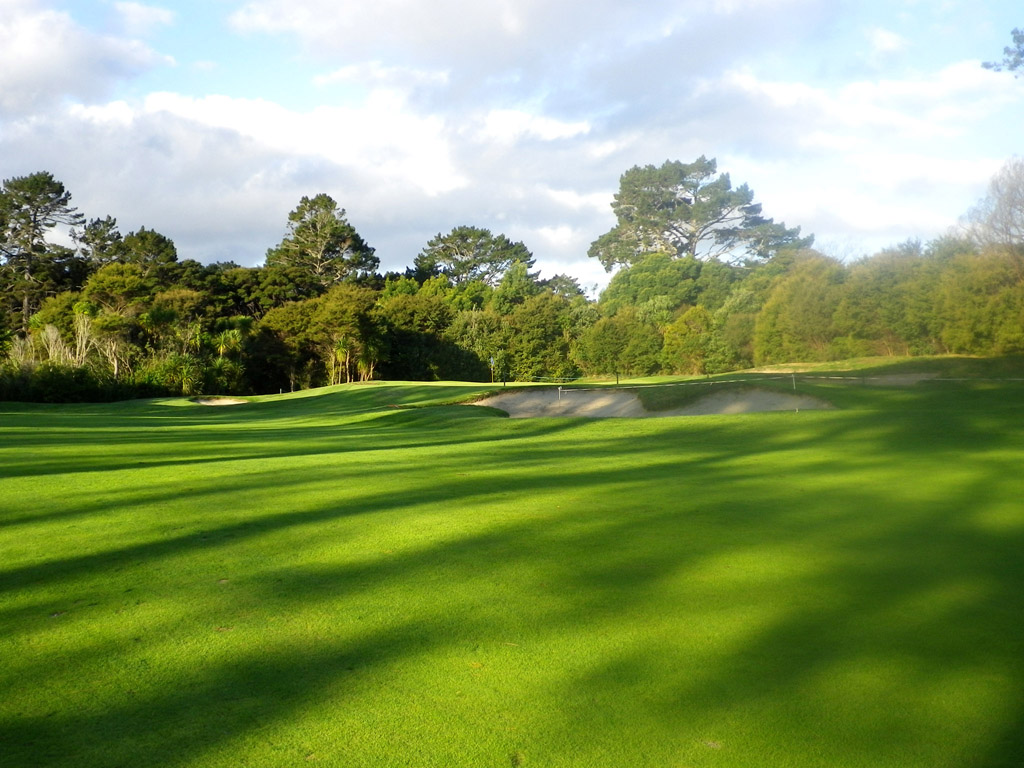
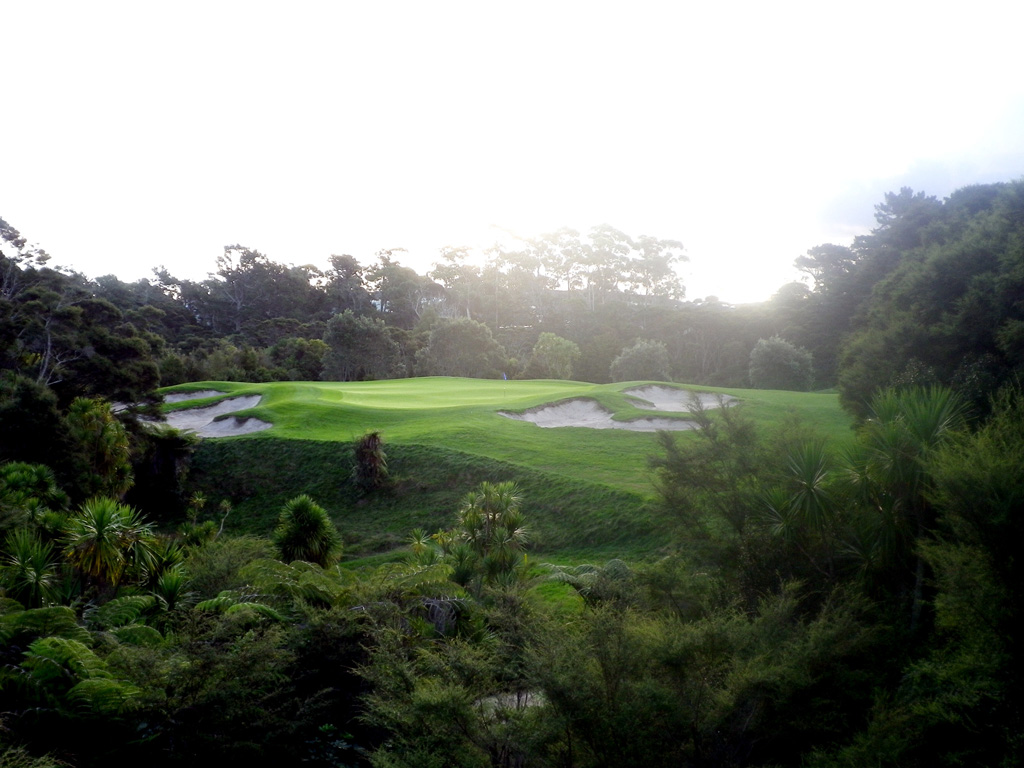
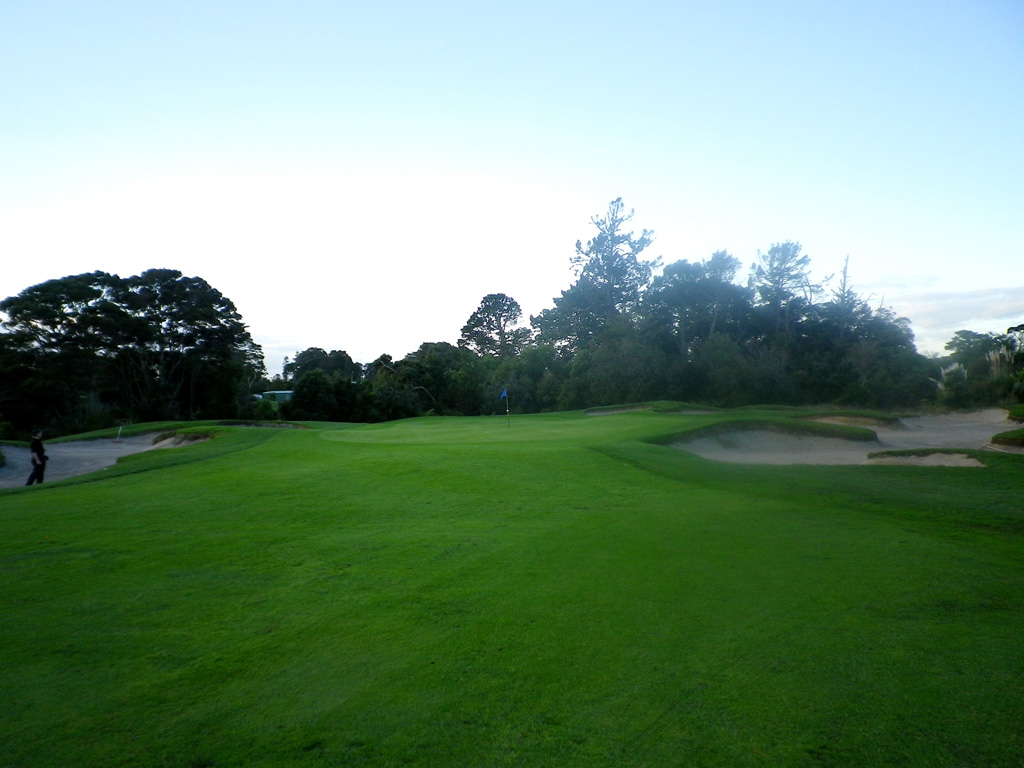
A hole over a large gully. 3 sunken bunkers protect the front of the wide
green sloping from left to right. |
| |
|
|
|
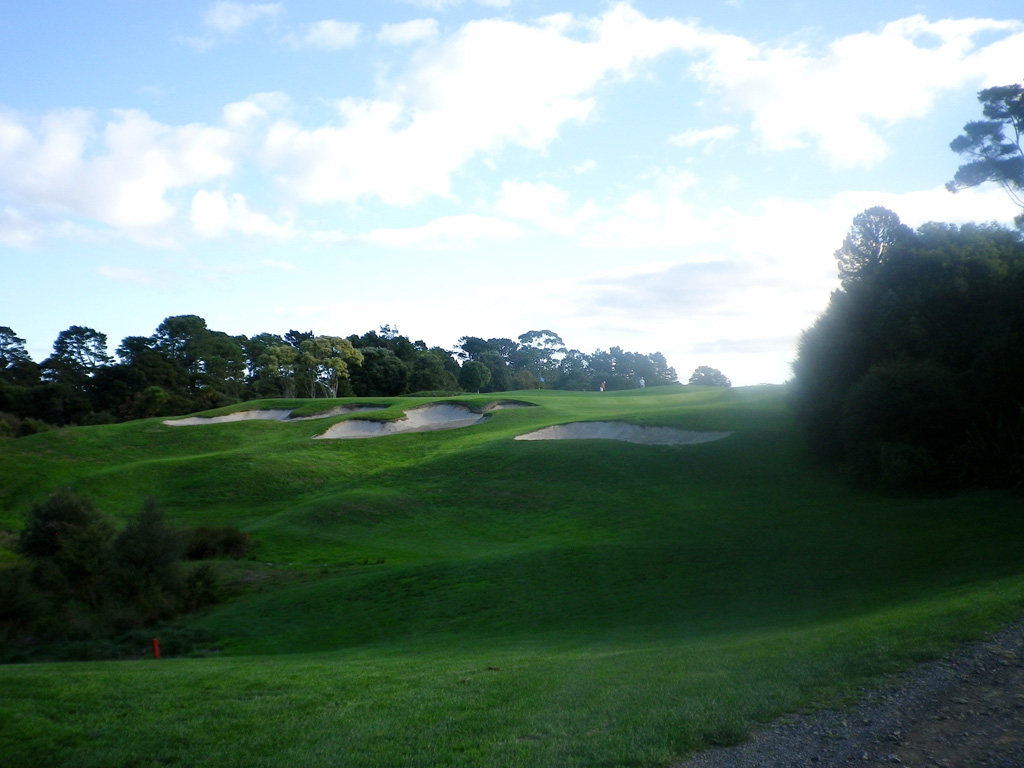
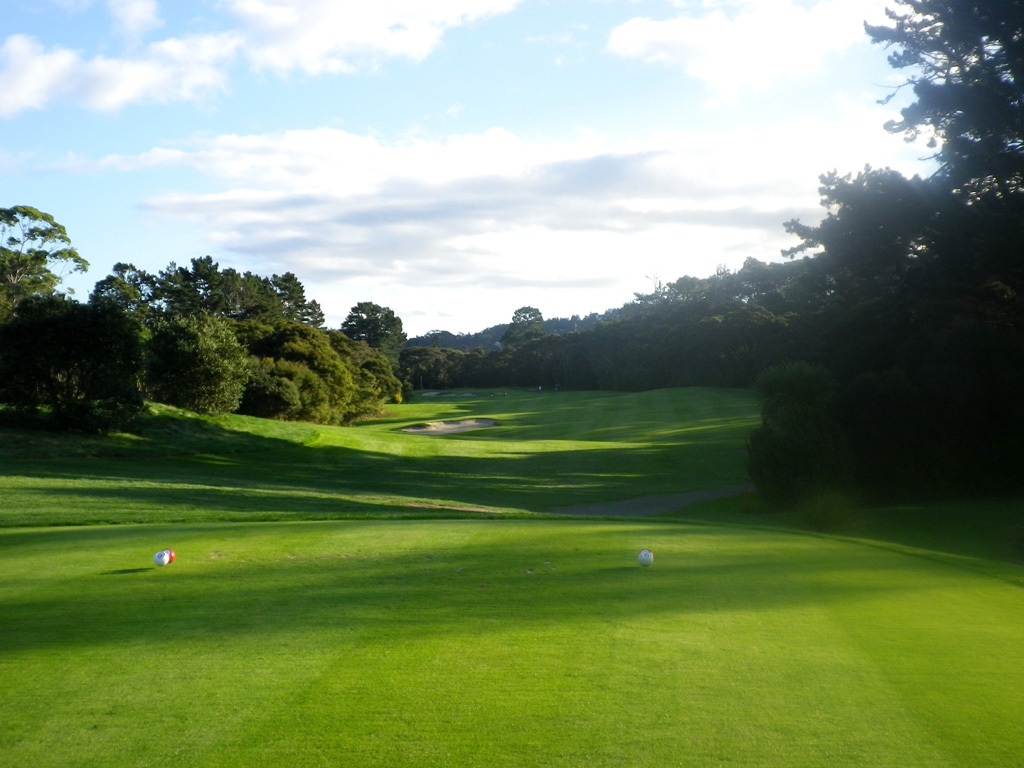
A slight dogleg to the left. To carry over the right fairway bunkers is
easy as the distance is only 200 yards off the tee, but the shot needs accuracy
as trees line the relatively tight landing area. The fairway slopes from
right to left. |
| |
|
|
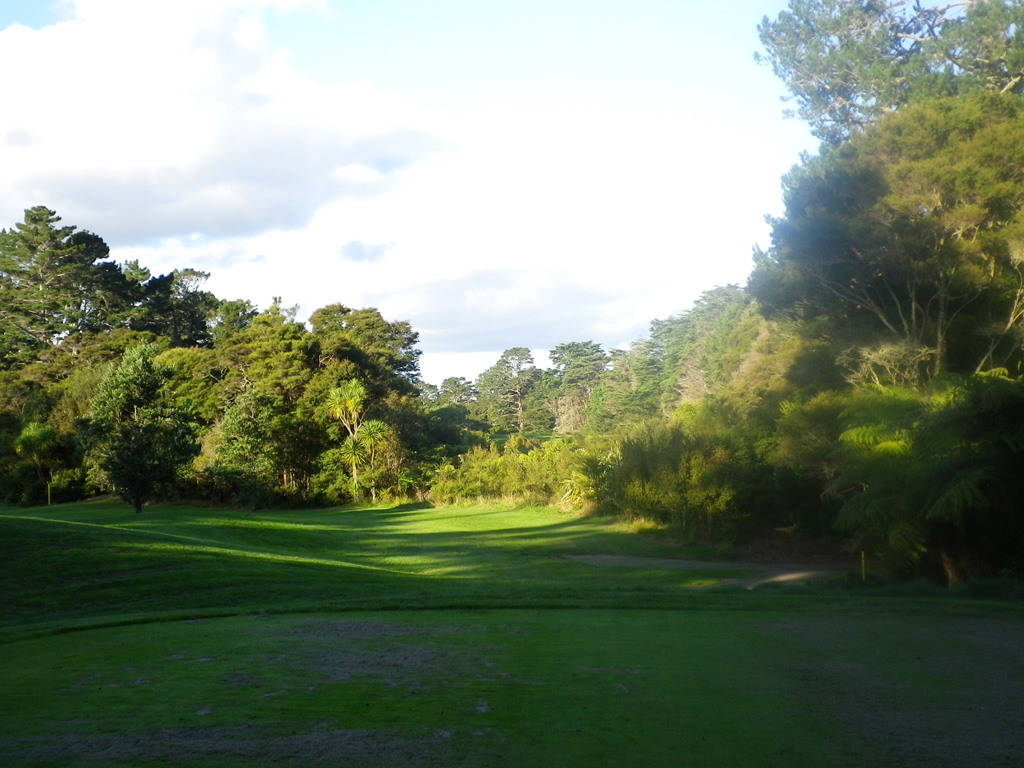
| An almost straight hole. The blind tee shot over trees requires
accuracy as trees on the left are into play and the OB lines on the right
are close. The second shot is over a large gully needs to avoid 2 bunkers
70 yards in front of the deep, 3 tiered green. |
| |
|
|
| |
|
|
|
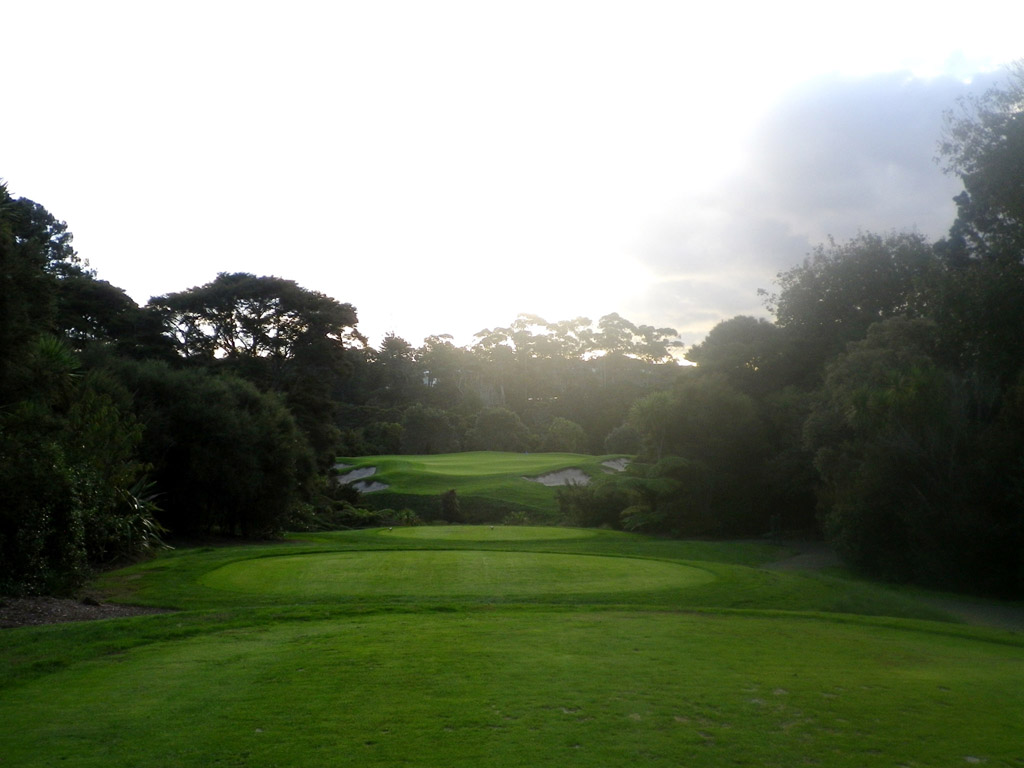
A relatively long par 3. The bunkers placed on both sides of the green,
especially the deep left bunker, come into play. The green is triple tiered
and highly undulated. |
| |
|
|
| A sharp dogleg to the left. The green is protected by 3 bunkers
and double-tiered sloping from front to back. |
|
|
| |
|
|
|
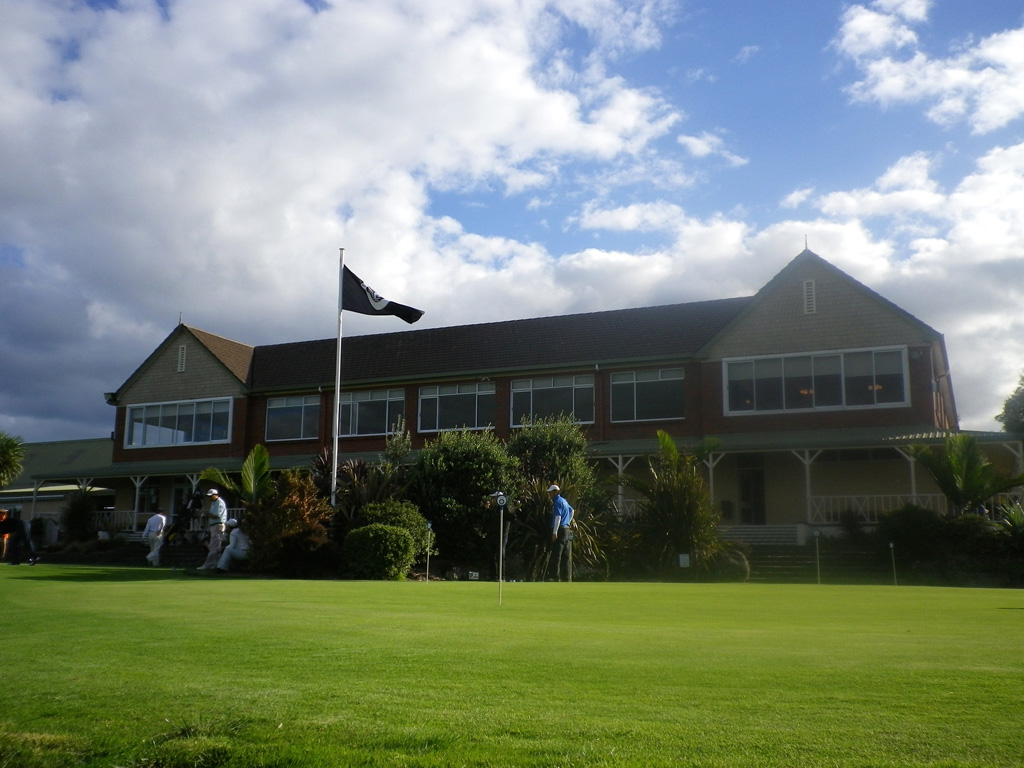
It is a 30-minute drive both from Auckland City and the airport. The
distances are in meters, so I have converted it into yards. Players who
like to play from the longest tees need to have an official handicap of
6 or lower. Some slot machines were placed in the clubhouse and the members
were enjoying them.
It was ranked 8th in the top 25 courses in New Zealand in 2010 by a panel
of NZPGA Professionals and Golf Travel operators.
This course was opened in 1909 and Alister Mackenzie redesigned it in
1926. It is the only one in the country designed by Alister Mackenzie.
His designed world-famous golf courses, within US Golf Magazine ranking
of the top 100 courses in the world for 2007, are Cypress Point (2nd) & Augusta National (4th) in America, and 4 courses in neighboring
Australia, Royal
Melbourne GC – West Course (15th), Kingstone
Heath GC (26th), New South
Wales GC (36th) and Royal Adelaide GC (75th).
|

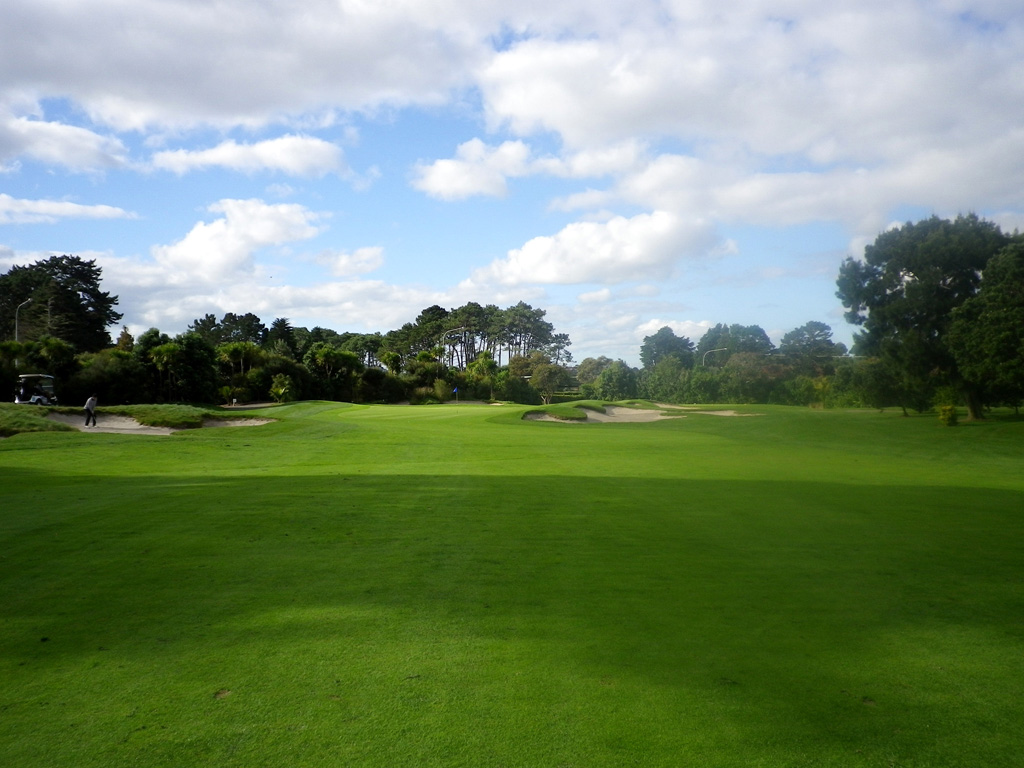

2nd Par 4 362 yards (2)